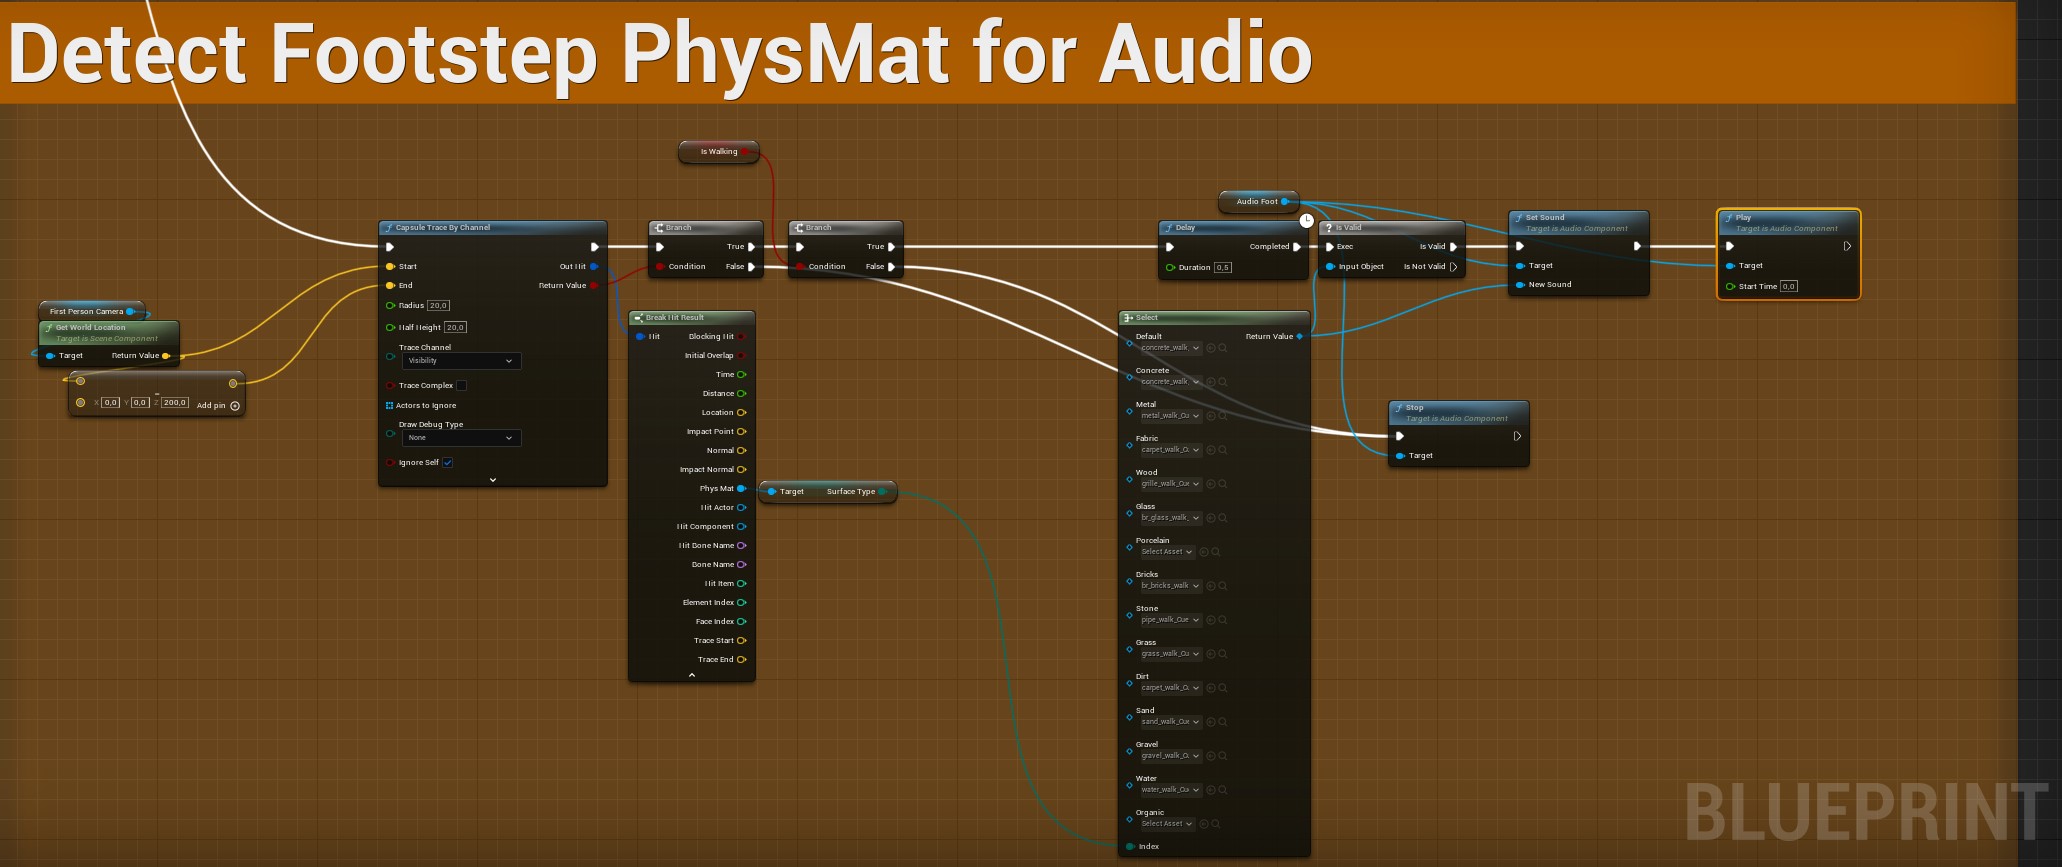
The Unreal Engine’s Blueprint Visual Scripting system offers a potent toolkit for creating gameplay elements, defining object behavior, and scripting without writing a single line of code. Let’s explore the 50 essential Blueprint nodes that every Unreal developer should master.
1. Event Begin Play: Triggers an event when the game starts or an object spawns.
2. Print String: Debug tool for displaying text on the screen.
3. Set Actor Location: Allows for the positioning of any actor in your scene.
4. Branch: Blueprint’s version of an if-then statement.
5. Cast To: Crucial for communicating between different Blueprints.
6. Set Visibility: A node for controlling the visibility of actors in the game world.
7. Delay: Introduces a pause before the next node executes.
8. Spawn Actor From Class: Creates a new actor from a chosen class.
9. Destroy Actor: Removes actors from your game world.
10. Add Movement Input: Applies force for character movement.
11. Set Actor Rotation: Allows you to control the rotation of actors in your scene.
12. On Tick: Runs every frame and is useful for constant checks or updates.
13. Set Material: Changes an actor’s material in real time.
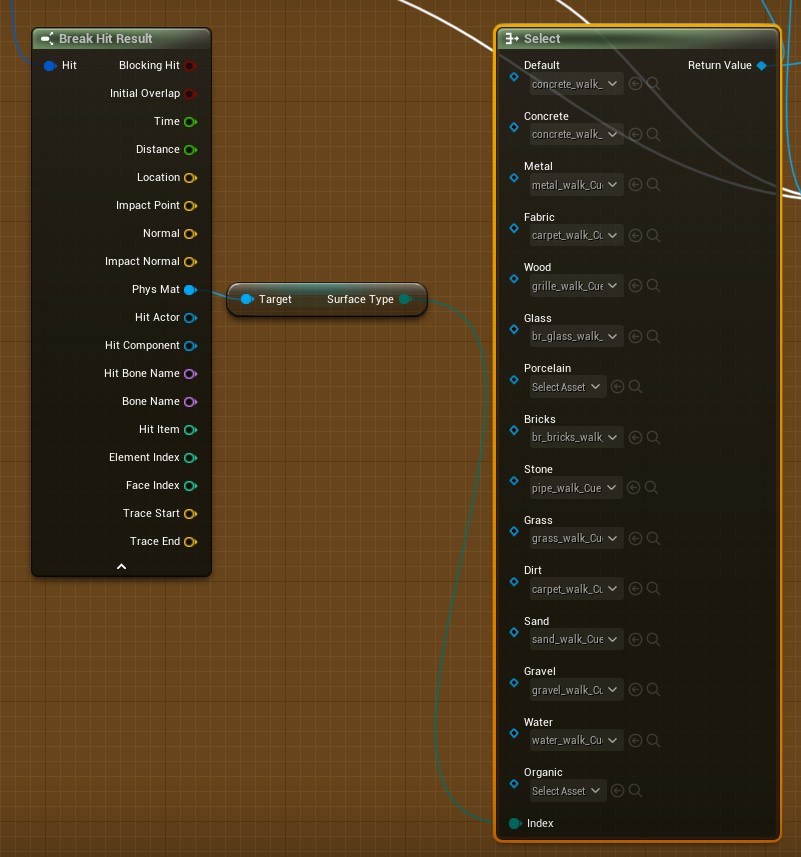
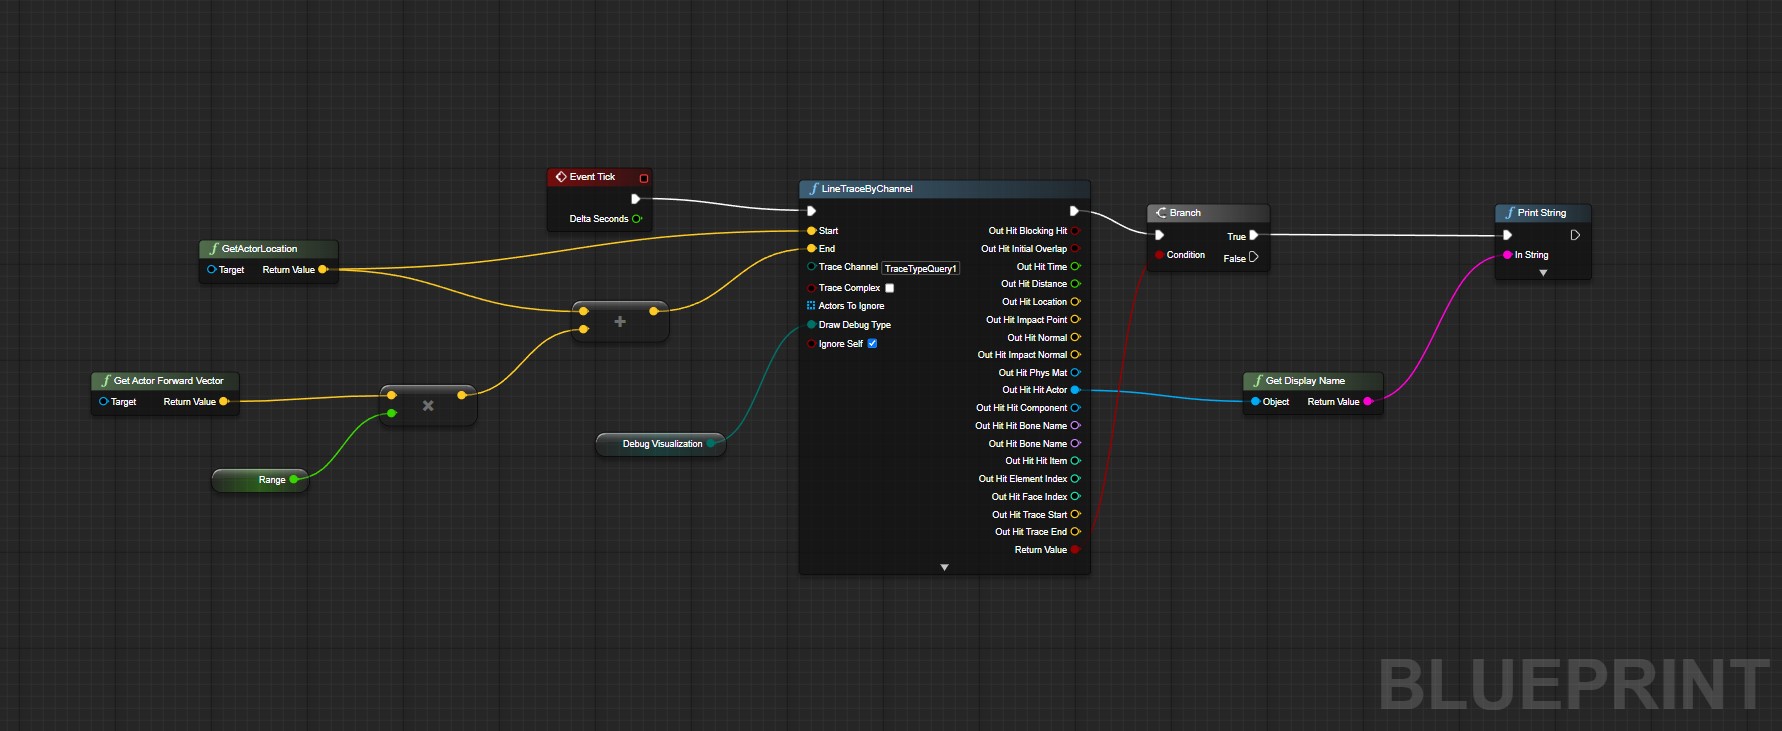
14. Line Trace By Channel: Helpful for mechanics like weapon fire or interactivity.
15. Set Vector Parameter Value: Updates vector values for use in material or particle systems.
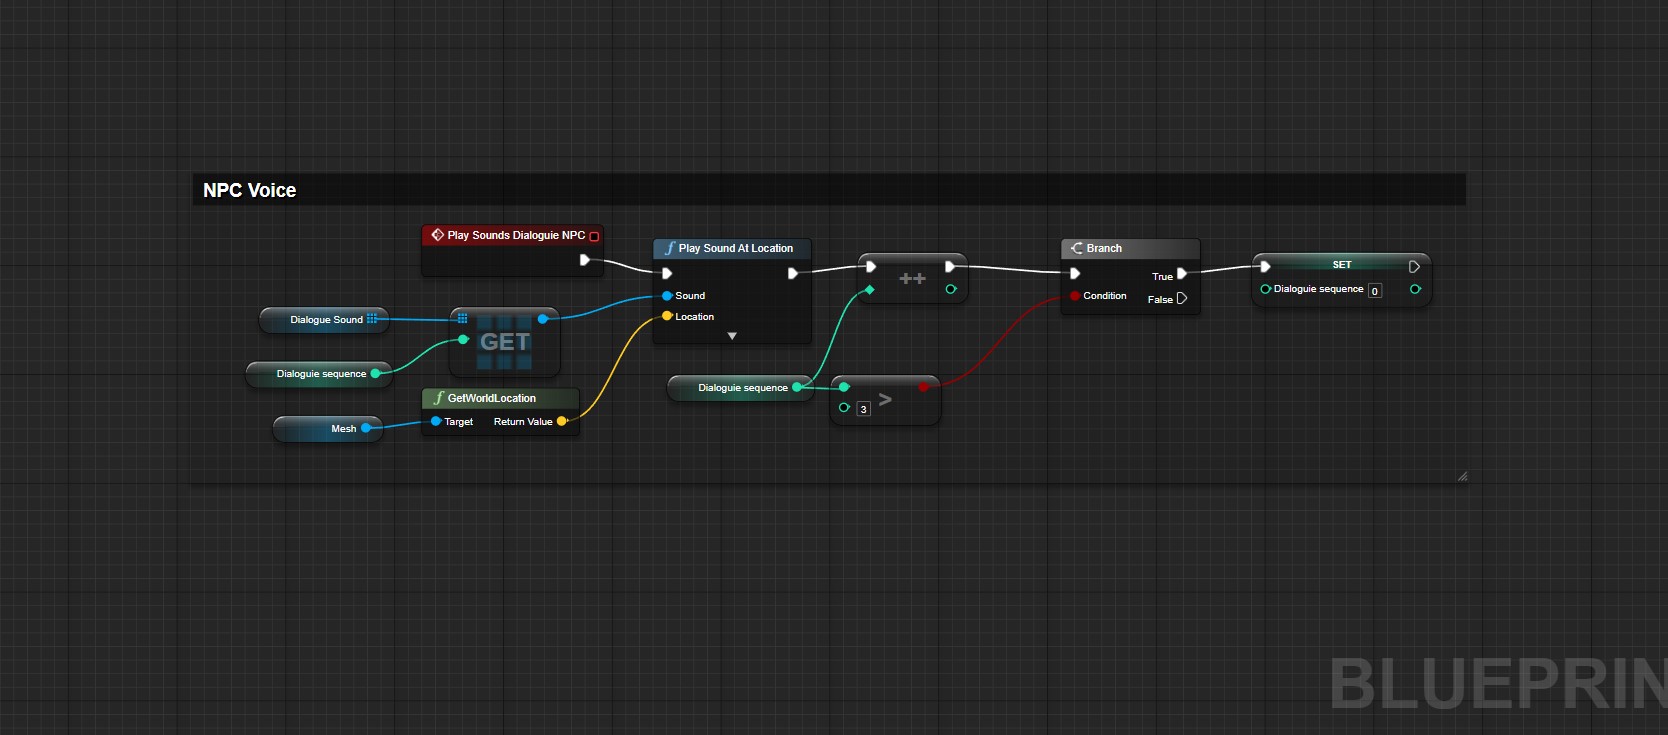
16. Play Sound at Location: Essential for integrating sound effects.
17. Set Relative Location: Changes the position of an actor relative to its parent.
18. Get Player Controller: Retrieves the player controller, useful for character or camera control.
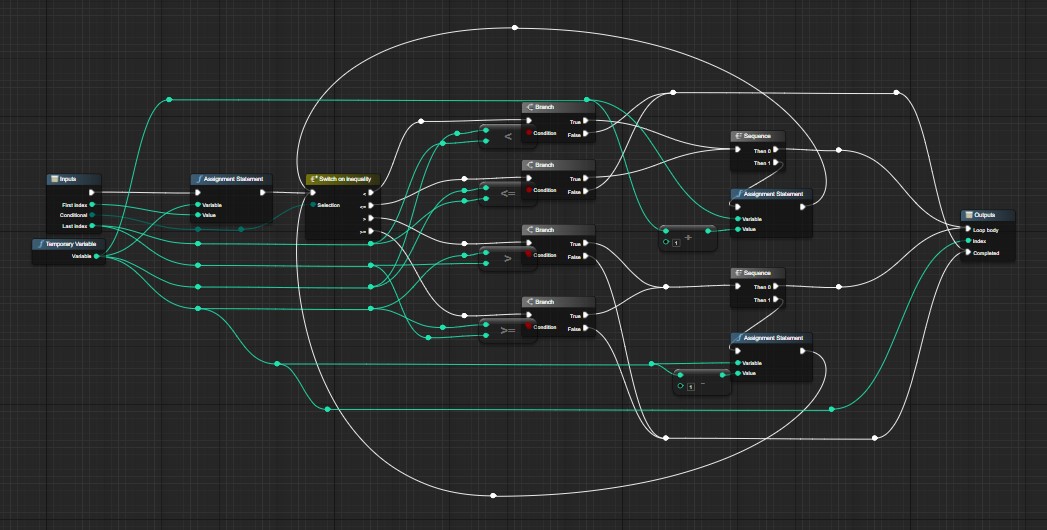
19. ForEach Loop: Executes a node for each element in an array.
20. Lerping Functions: Useful for smooth transitions between two values.
21. Set World Location: Controls an actor’s global position in the game world.
22. Break Vector: Splits a vector into X, Y, and Z components.
23. Make Rotator: Creates a rotator from pitch, yaw, and roll.
24. Multiply (Float): Multiplies two float values.
25. Set Actor Scale 3D: Controls the size of actors in the game world.
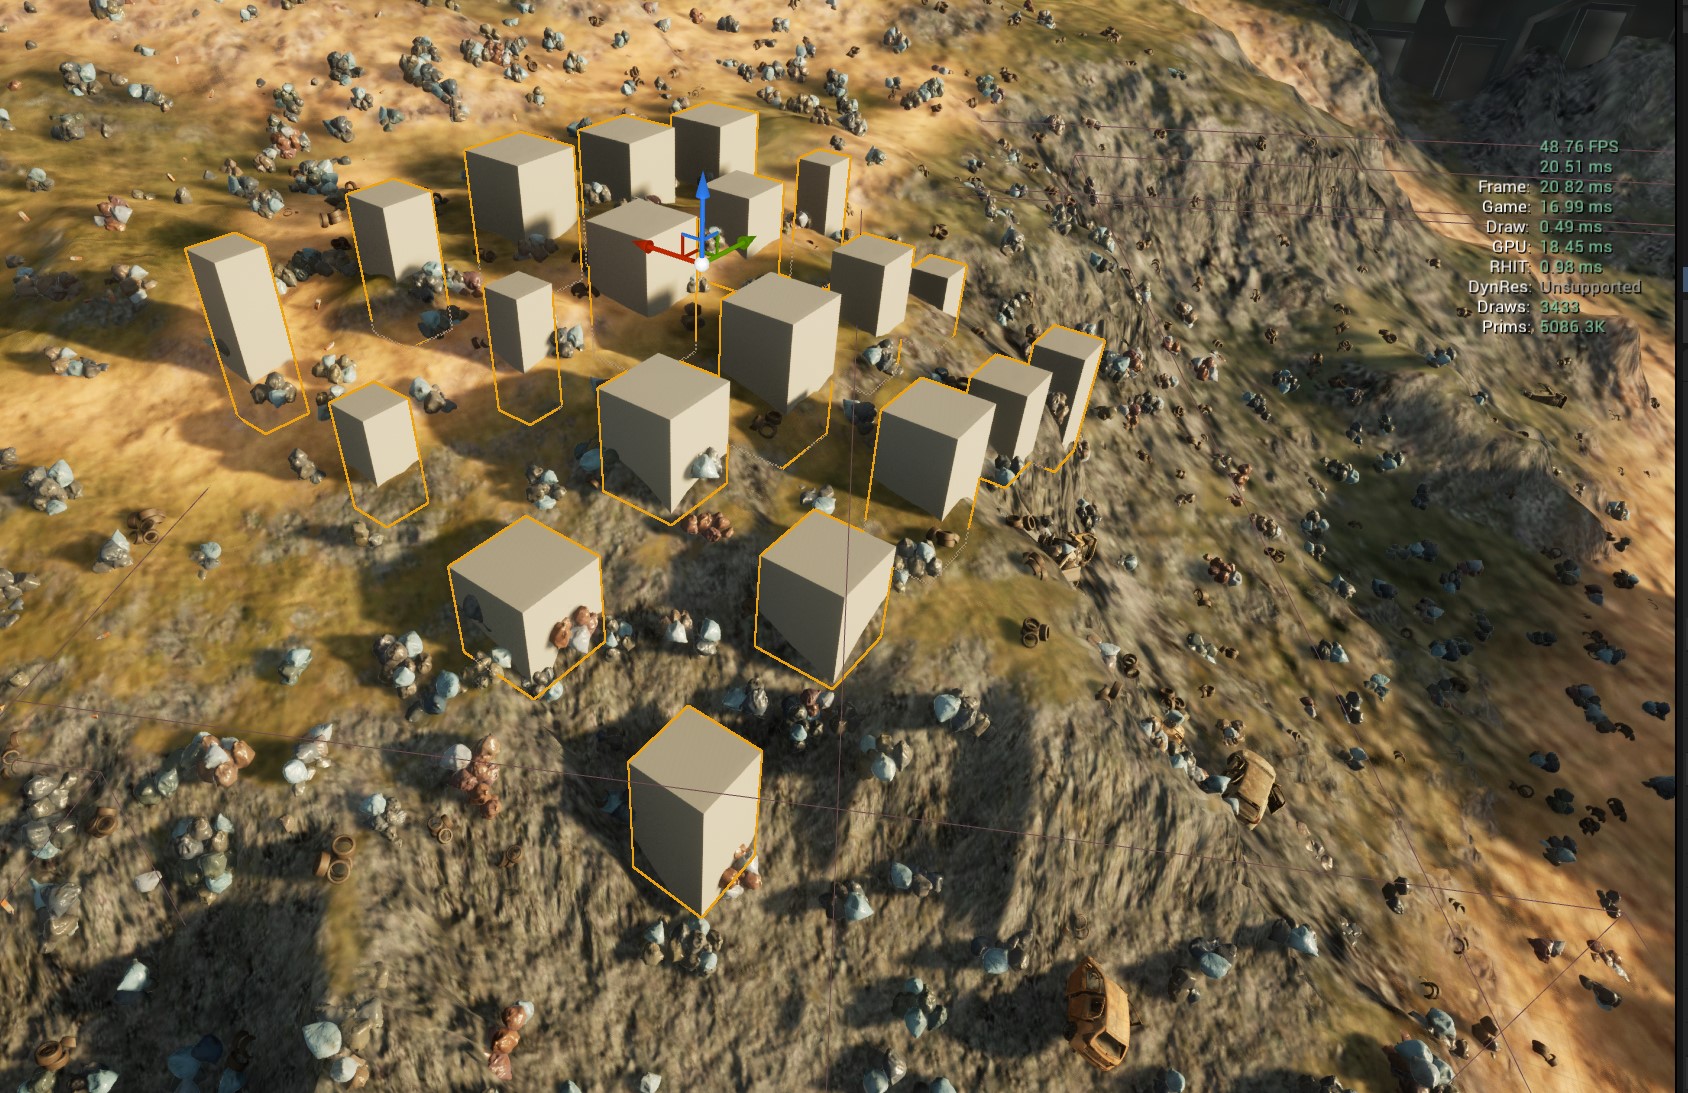
26. Box Overlap Actors: Checks for other actors within a specified box-shaped area.
27. Get Velocity: Retrieves the speed and direction of an actor.
28. On Hit: Triggers an event when an actor collides with another.
29. Set Timer by Function Name: Executes a function or event after a set amount of time.
30. Create Widget: Essential for creating UI elements during gameplay.
31. Look At: Makes an actor face another actor or location.
32. Sequence: Allows for multiple lines of execution from a single entry point.
33. Get All Actors of Class: Retrieves all actors of a specific class in the game world.
34. Set Physics Linear Velocity: Controls the velocity of physically simulated actors.
35. Rotate Vector Around Axis: Creates interesting rotation effects.
36. Get Actor Up Vector: Retrieves the up direction (Z-Axis) of an actor.
37. Set Skeletal Mesh Component: Changes the skeletal mesh of an actor during runtime.
38. Set Input Mode Game Only: Sets input control to the game only.
39. Add Actor Local Offset: Moves an actor relative to its current location.
40. Get Player Pawn: Retrieves the pawn currently controlled by the player.
41. Add Impulse: Applies an instantaneous force to physically simulated actors.
42. Set Actor Hidden In Game: Hides or shows an actor during gameplay.
43. Get World Delta Seconds: Retrieves the time passed since the last frame.
44. Get Player Character: Retrieves the character currently controlled by the player.
45. Set Simulate Physics: Turns physics simulation on or off for an actor.
46. Set Actor Tick Enabled: Controls whether an actor updates every frame.
47. Set Actor Enable Collision: Turns an actor’s collision on or off.
48. Get Random Point In Navigable Radius: Retrieves a random location within a specified area.
49. Add Force: Applies a continuous force to physically simulated actors.
50. Get Actor Forward Vector: Retrieves the forward direction (X-Axis) of an actor.
Mastering these nodes is a major step towards effective Blueprint scripting in Unreal Engine. The more comfortable you become with these tools, the more power you’ll wield over your game development projects. So dive in and unlock the potential of Blueprint Visual Scripting. Happy creating!


